DeployCode-WebServer
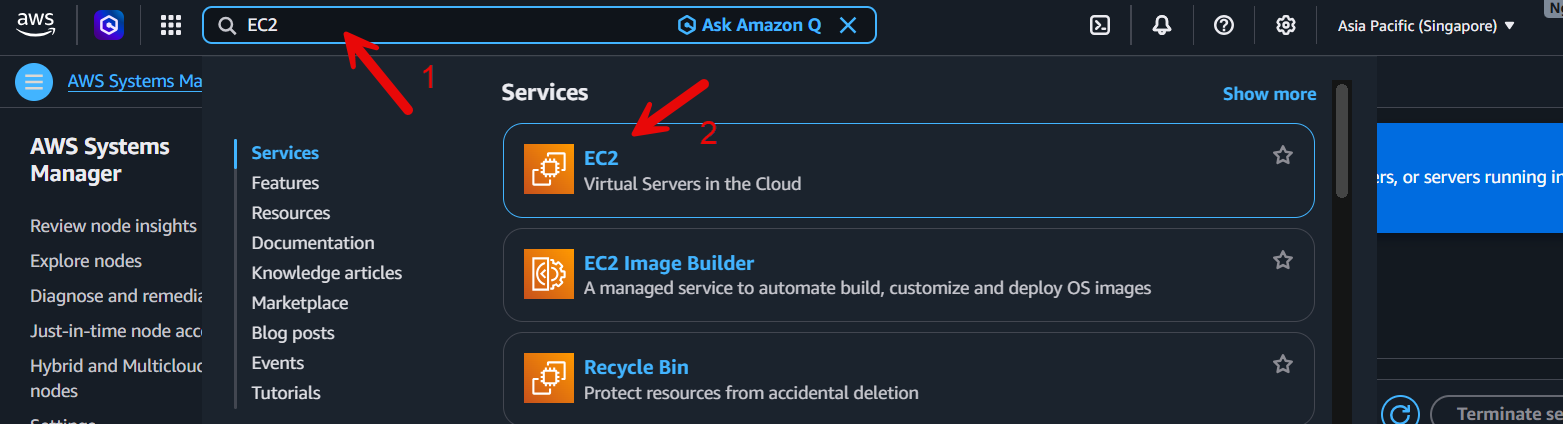
- Go to EC2.
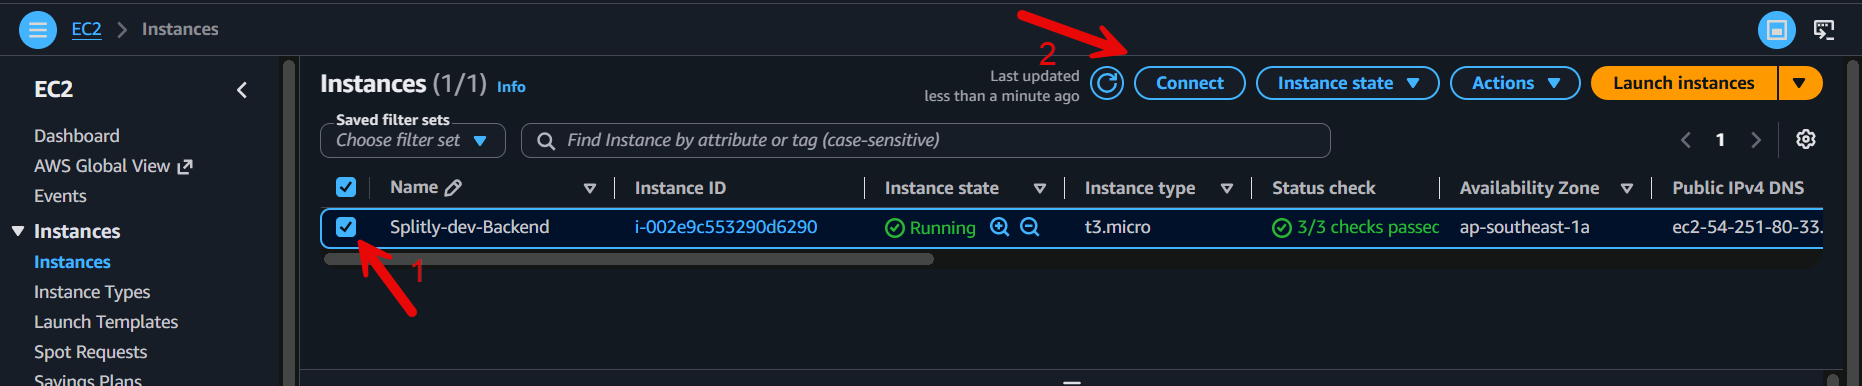
- Select Instances, then click Connect.
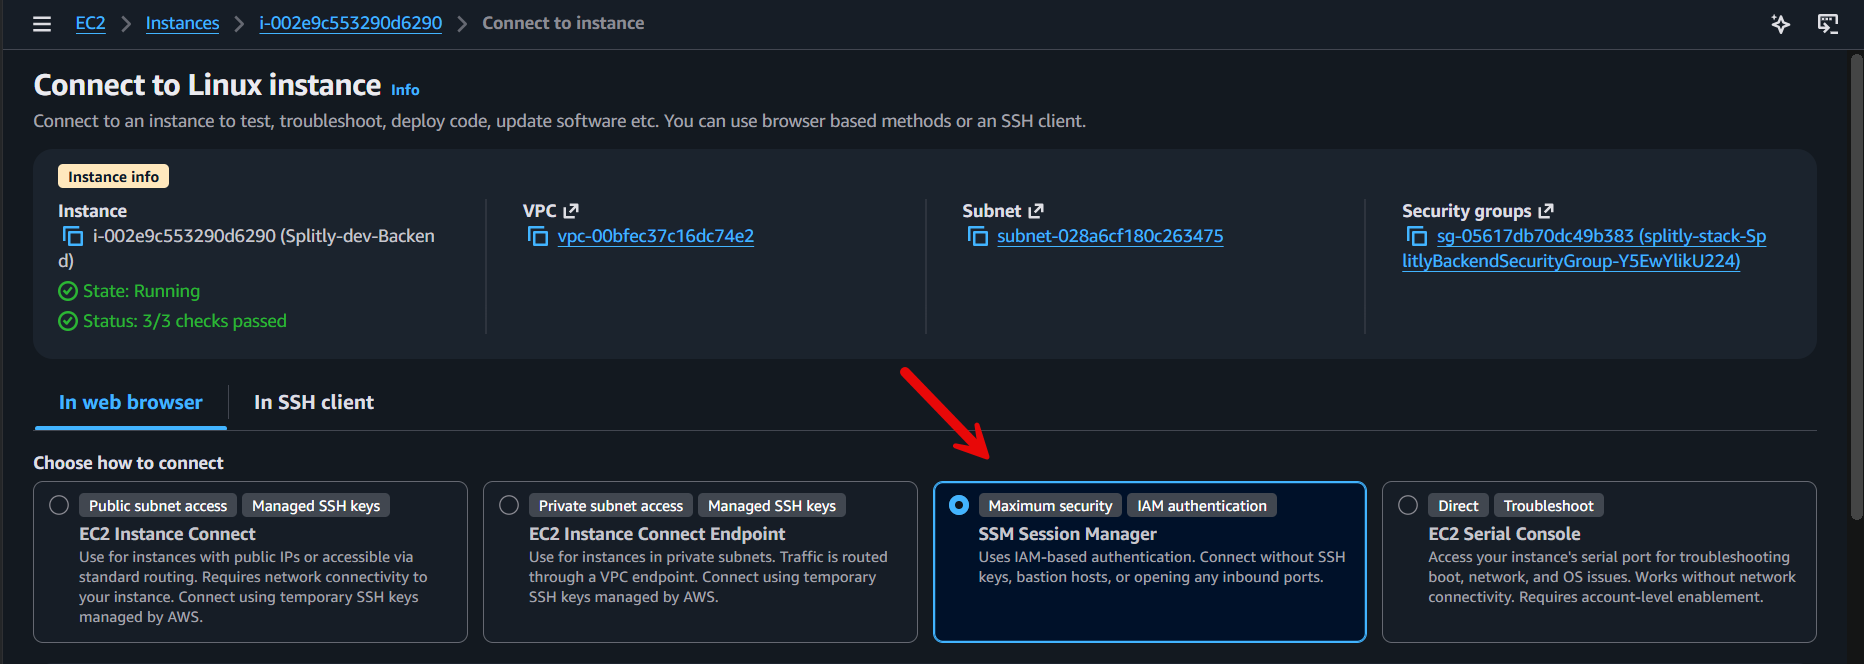
- Verify that the instance status shows 3/3 checks passed, then select SSM Session Manager.
- Click Connect.
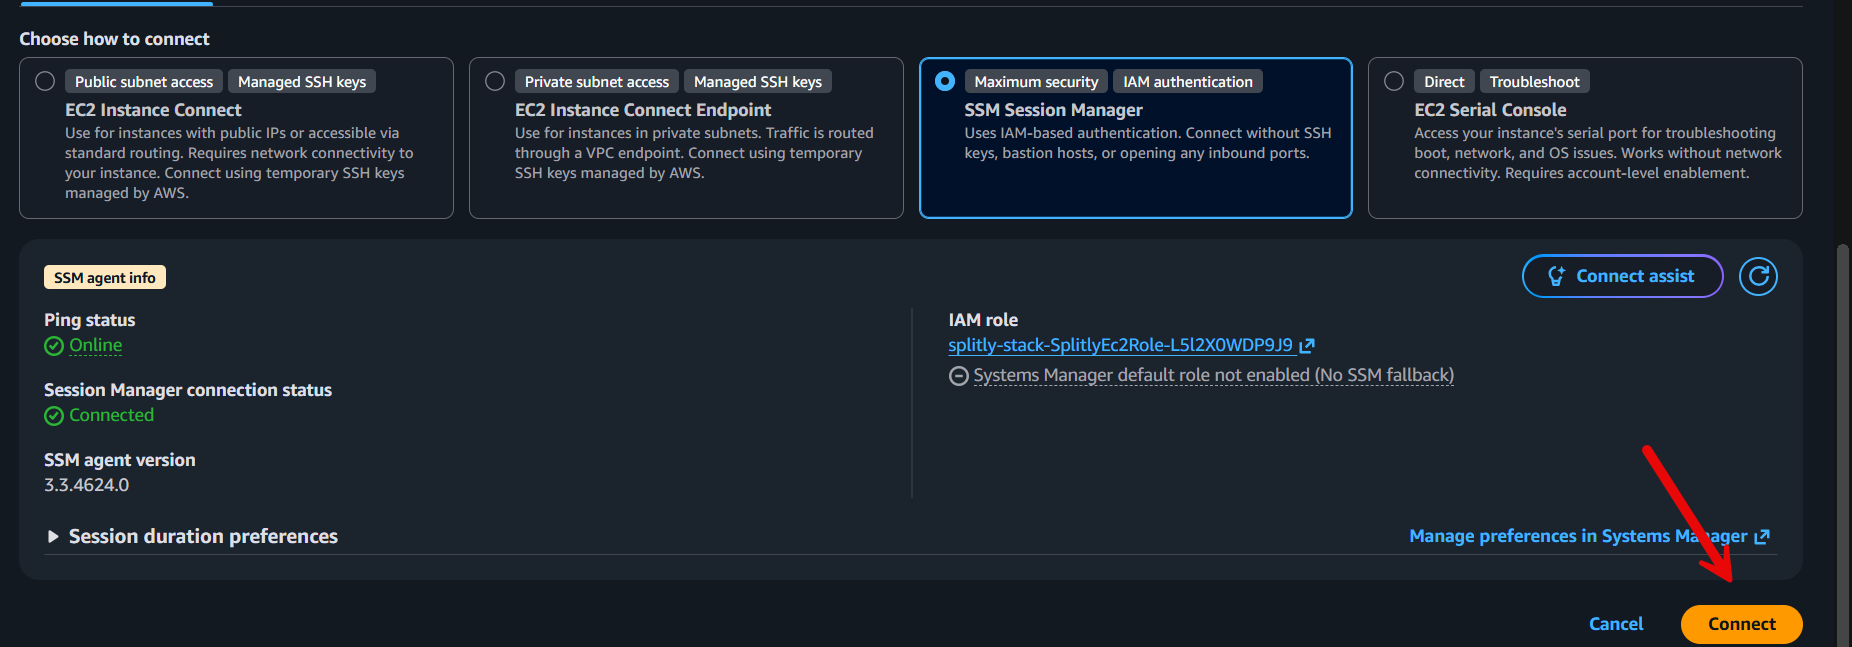
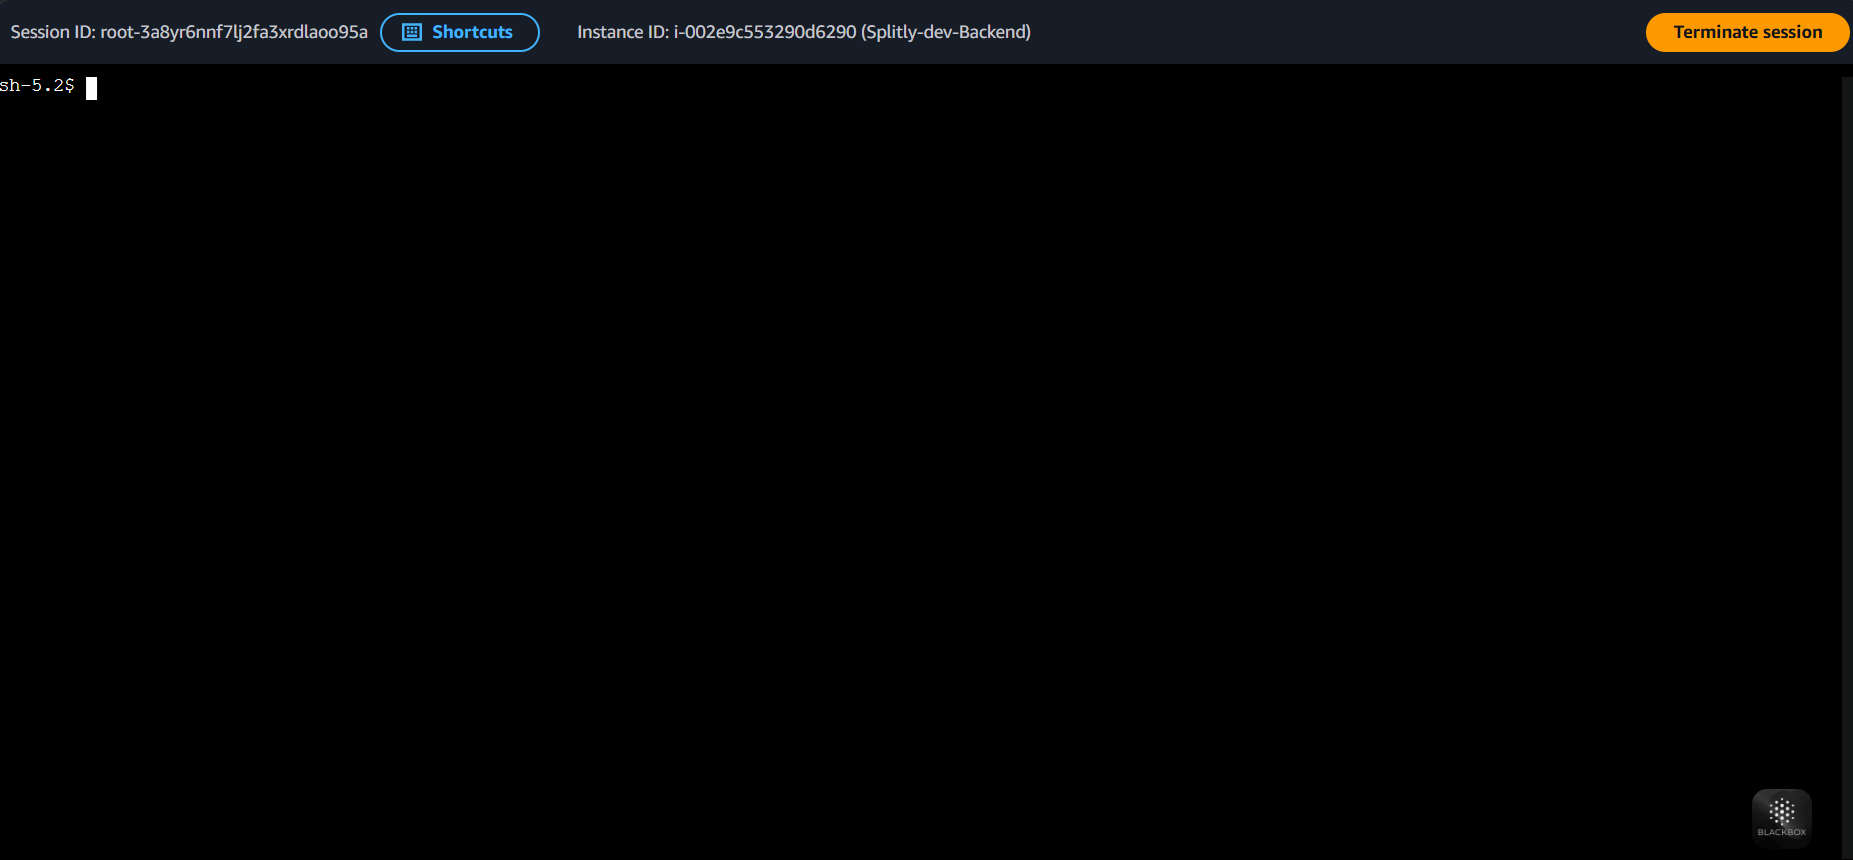
- After clicking Connect, you will automatically be redirected to the Systems Manager session.
Deploy the Splitly Application on EC2
After accessing the EC2 instance through:
EC2 → Connect → Session Manager → Connect
Run the following command to switch to the ec2-user account:
sudo su - ec2-user
1. Create the Deployment Directory
Create a deployment directory for the Splitly project:
sudo mkdir -p /opt/splitly
sudo chown -R ec2-user:ec2-user /opt/splitly
cd /opt/splitly
2. Clone the Source Code from GitHub
Clone the project repository into the deployment directory:
git clone <GITHUB_REPOSITORY_URL> .
Example:
git clone https://github.com/username/splitly.git .
After cloning the repository, verify that the following directories are available:
app
backend
The expected project structure is:
/opt/splitly
├── app
└── backend
3. Deploy the Backend
Go to the backend directory:
cd /opt/splitly/backend
Create the Backend Environment File
Create a .env file:
nano .env
Copy the environment variables from the .env file in the source code and update the required values:
PORT=5000

MONGODB_URI=<MONGODB_ATLAS_CONNECTION_STRING>
MONGODB_DB=Splitly

JWT_SECRET=<JWT_SECRET_KEY>

EMAIL_PROVIDER=gmail
GMAIL_SMTP_USER=<GMAIL_ADDRESS>
GMAIL_APP_PASSWORD=<GMAIL_APP_PASSWORD>
EMAIL_FROM=Splitly <<GMAIL_ADDRESS>>

AWS_REGION=ap-southeast-1
S3_RECEIPTS_BUCKET=<S3_BUCKET_NAME>
S3_RECEIPTS_PREFIX=receipts/
S3_PRESIGN_EXPIRES_SECONDS=3000

FRONTEND_URL=http://<EC2_PUBLIC_IP>

VNPAY_TMN_CODE=
VNPAY_HASH_SECRET=
VNPAY_URL=https://sandbox.vnpayment.vn/paymentv2/vpcpay.html
Save and close the file:
Ctrl + O
Enter
Ctrl + X
Do not commit the
.envfile or expose sensitive information such as the MongoDB connection string, JWT secret, Gmail App Password, or VNPay credentials.
Install Dependencies and Build the Backend
npm install
npm run build
Start the Backend with PM2
pm2 start dist/server.js --name splitly-api
pm2 save
pm2 status
The splitly-api process should have the following status:
online
4. Deploy the Frontend
Go to the frontend directory:
cd /opt/splitly/app
Create the Frontend Environment File
Create a .env.production file:
nano .env.production
Copy the environment variables from the frontend source code and update the required values:
VITE_API_URL=http://<EC2_PUBLIC_IP>
VITE_RECEIPTS_PUBLIC_BASE_URL=
VITE_GOOGLE_CLIENT_ID=<GOOGLE_CLIENT_ID>
Save and close the file:
Ctrl + O
Enter
Ctrl + X
Install Dependencies and Build the Frontend
npm install
npm run build
Verify the Frontend Build
test -f dist/index.html && echo "Frontend build: OK"
Expected result:
Frontend build: OK
5. Configure and Run Nginx
Create an Nginx configuration file for Splitly:
sudo nano /etc/nginx/conf.d/splitly.conf
Add the following configuration:
server {
    listen 80;
    server_name _;

    root /opt/splitly/app/dist;
    index index.html;

    location / {
        try_files $uri $uri/ /index.html;
    }

    location /api/ {
        proxy_pass http://127.0.0.1:5000;
        proxy_http_version 1.1;

        proxy_set_header Host $host;
        proxy_set_header X-Real-IP $remote_addr;
        proxy_set_header X-Forwarded-For $proxy_add_x_forwarded_for;
        proxy_set_header X-Forwarded-Proto $scheme;
    }
}
Save and close the file:
Ctrl + O
Enter
Ctrl + X
Validate the Nginx Configuration
sudo nginx -t
A successful result should look similar to:
syntax is ok
test is successful
Restart Nginx
sudo systemctl restart nginx
sudo systemctl is-active nginx
Expected result:
active
6. Verify the Complete Deployment
Check the backend process:
pm2 status
Check whether the backend is listening on port 5000:
sudo ss -lntp | grep 5000
Check the frontend build:
test -f /opt/splitly/app/dist/index.html && echo "Frontend build: OK"
Validate the Nginx configuration:
sudo nginx -t
Check the Nginx service:
sudo systemctl is-active nginx
Test the website locally:
curl -I http://127.0.0.1
A successful response should contain:
HTTP/1.1 200 OK
7. Access the Splitly Application
Open a web browser and access the application using the EC2 public IP address:
http://<EC2_PUBLIC_IP>
Example:
http://13.xxx.xxx.xxx
If the deployment is successful, the Splitly frontend interface will be displayed. API requests beginning with /api/ will be forwarded by Nginx to the backend application running on port 5000.